The birds are singing. I’ve been up all night. Oops.
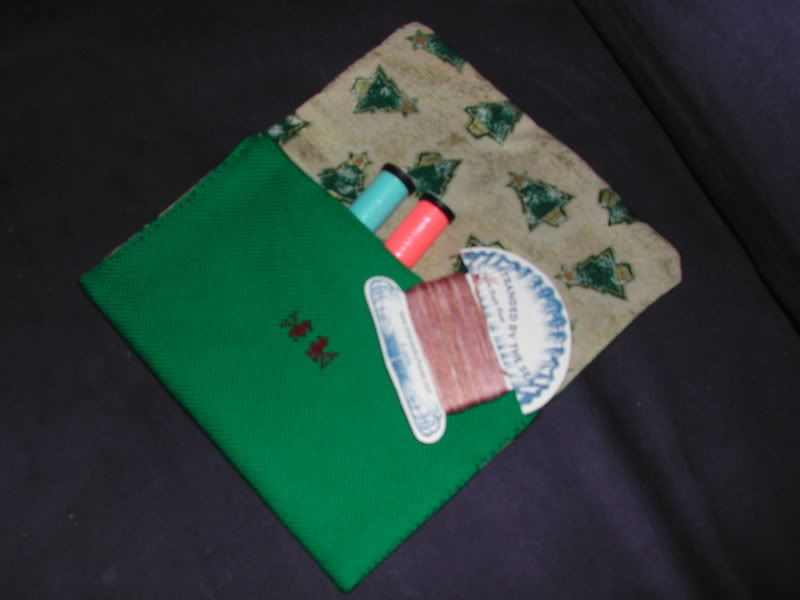
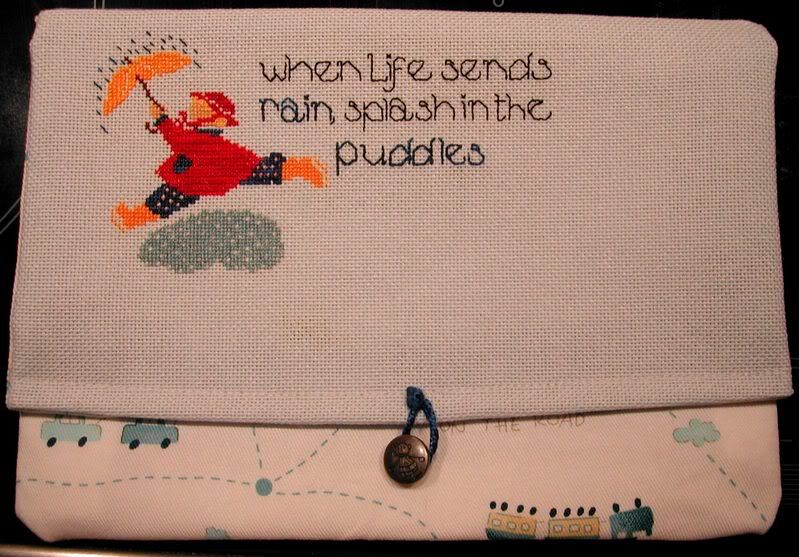
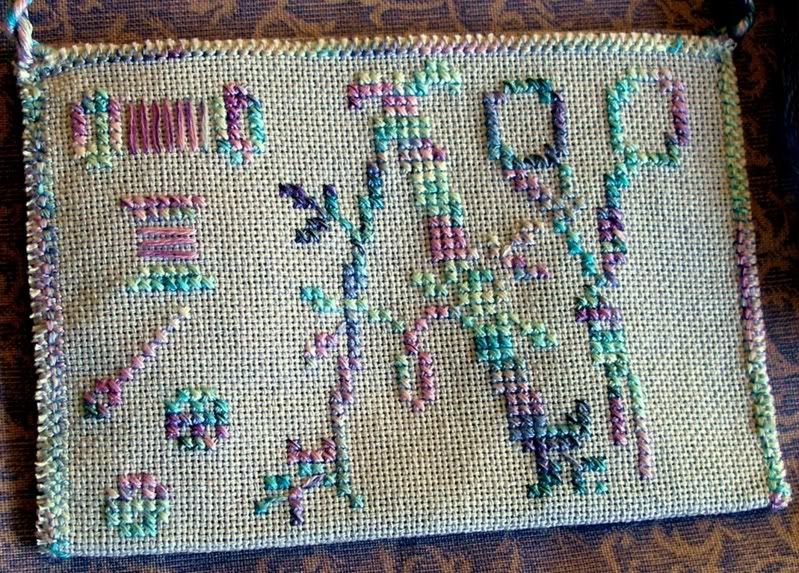
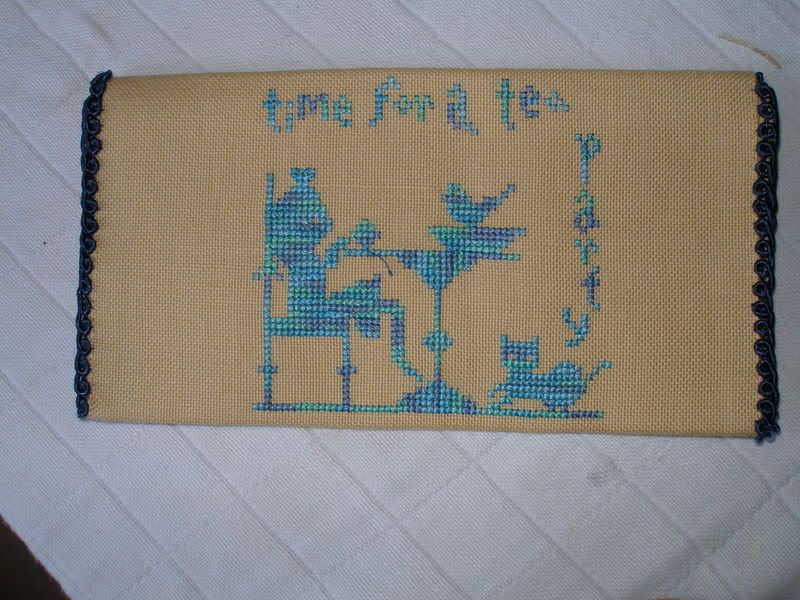
Okay, here’s an intro into the wonderful world of mailart. The only barrier to how far you take it is your own imagination. MA is fun – I use some of mine to hold things like needles or threads, and others are diplayed purely for their artistic beauty. They’re fun to receive and fun to send. What’s not to like?
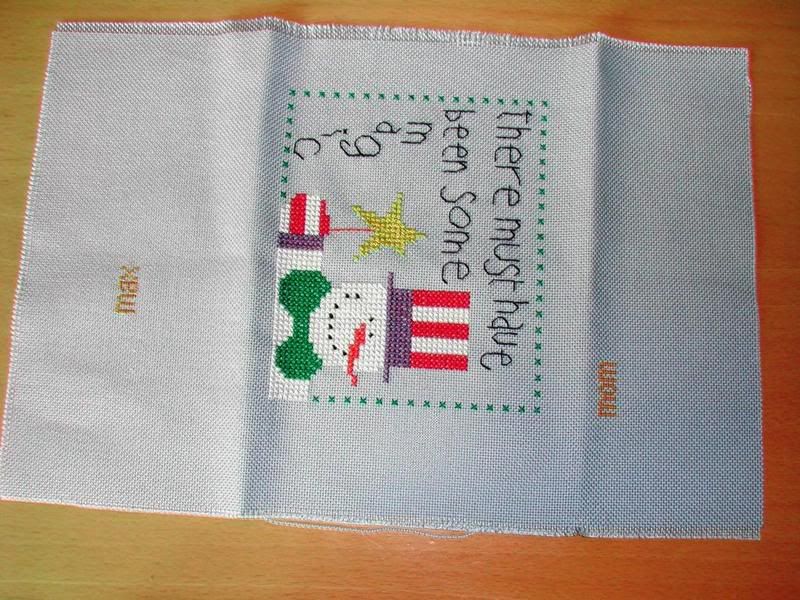
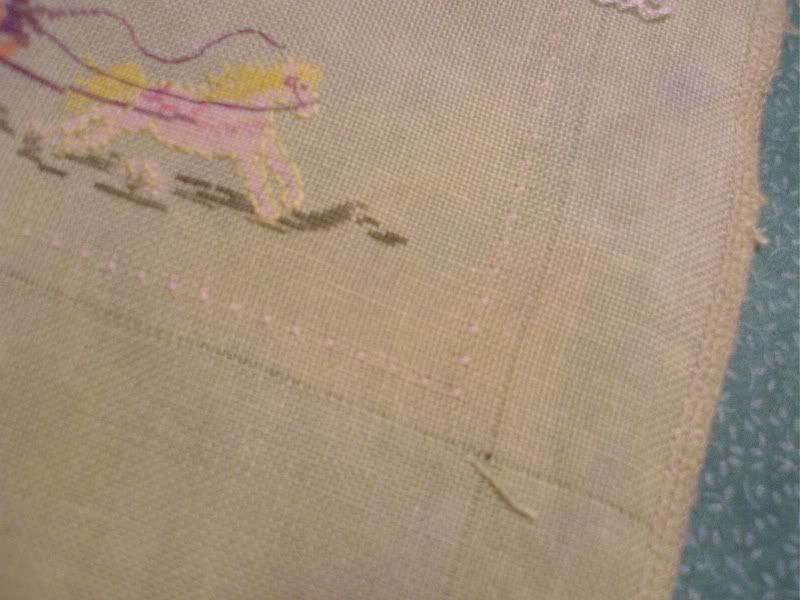
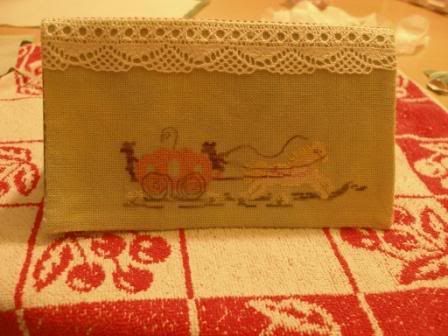
As mentioned in my introduction a few weeks ago, the secret to a really well-made MA is measurement: Take the time to measure more than once. A stitched “border” such as my every-other-stitch squares works well to keep your project aligned and avoid horrors such as this:
If you do wind up with non-matching sides or corners, a mutitude of errors can be hidden under a simple ribbon or other decoration.
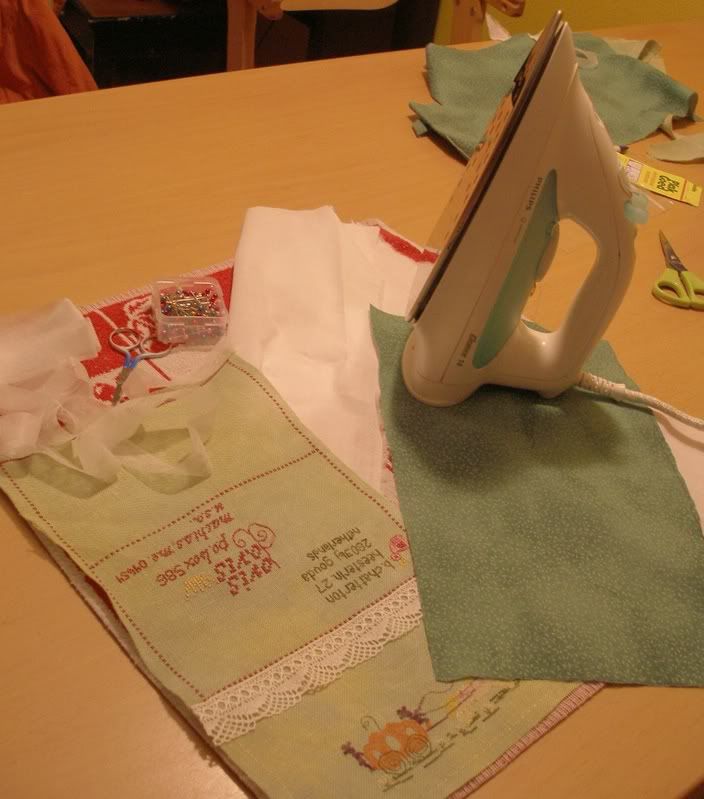
To begin the assembly process, gather your materials. Here I have my stitched piece, my lining fabric, two pieces of interfacing, fusible interfacing such as is used in curtain hems, my iron, pins, and scissors.
Note that you do not have to use a lining material. It adds extra stability and makes the envelope prettier, but is by no means necessary. However, skipping the lining means you do need to use a fairly sturdy and flexible interfacing. The cotton one I have here works well for that. On the other hand, you don’t have to use interfacing, but a fabric envelope without any structure or support is a very floppy thing.
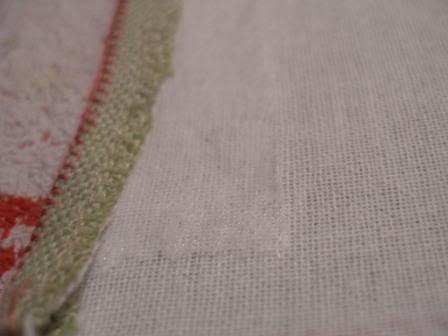
To insure that your stitched piece is cut evenly, which will save you many headaches later on, use the pulled-thread method to create a straight cutting line. I counted out 4 double stitches (over-two, which would be 8 single stitches) from the outside of my design. (Now you see where those carefully marked borders come in handy!)
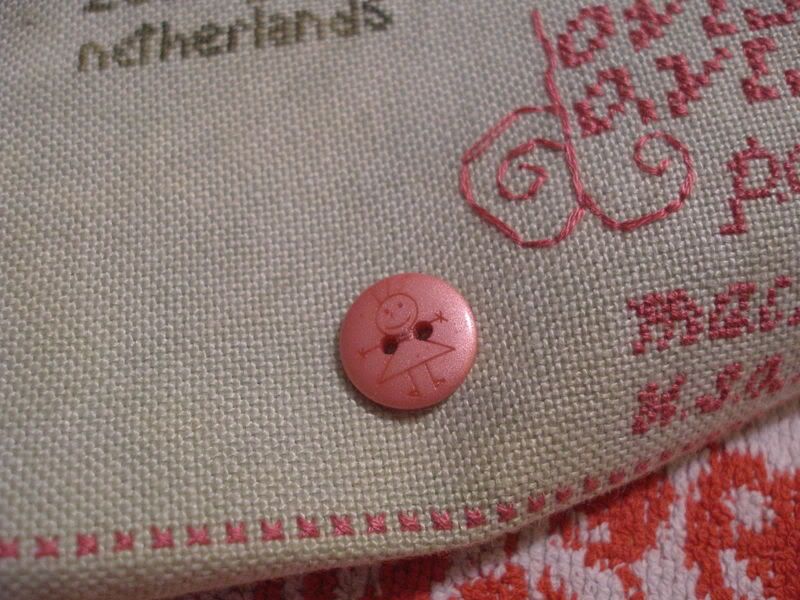
Iron one piece of your interfacing on the wrong side of your stitched piece and the other piece of interfacing to the wrong side of your lining fabric. Follow the procedure given for your interfacing – for the medium-weight cotton interfacing I’m using here, I need a very damp cloth, highest iron setting, and I hold the iron to the count of ten. (Note that because most interfacing calls for a very hot iron, you should not have anything attached that could melt, such a decorative buttons!) Trim any excess. Now is a good time to attach any decorative buttons or the like.
Finger press (or very carefully use your iron) the seams and folds. If you are doing full hand-finishing and you feel picky, miter your corners. ( I rarely feel that picky LOL!) Mitering also helps keep the MA from going off in one direction or another. Any flopsy bits, like my lace, should be tacked down, too.
Once your seams are finger-pressed, you may opt to use that fusible curtain interacing to hold them securely in place. Be careful – a mishap here will secure your fold over in the *wrong* place! Also be careful not to melt the interface onto your iron. (Rubbing the hot iron over a rough towel will take that goop off, I’ve learned.)
Before you attach the lining, make sure any last buttons or loops are attached (such as for closure of the envelope flap). This keeps the MA a lot neater than a last minute stitch-on jobbie. I’m not using buttons to close this MA because it has a long way to go and loosely stitching the sides closed is a bit safer for the long haul.
You can also use that fusible interfacing (which I really like, can you tell??) to affix your lining to your stitched piece. Whether you use interfacing or good ol’thread, the premise is the same. Pin the wrong sides together. If you are using the interface method, unpin one side at a time to iron the interfacing in. Be careful – you can accidently fix it in the wrong place. If you are stitching, … stitch!
If you’re using a machine, you should instead pin the right sides together and carefully sew around the border, as if you were making a pocket. Leave room to turn the envelope right-side-out and hand-finish that small opening.
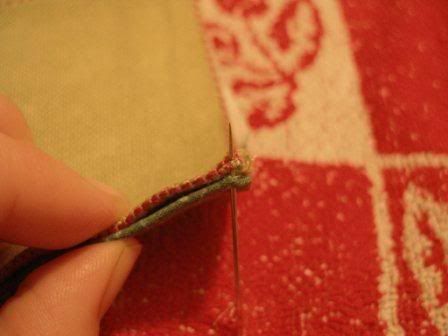
Now it’s time to stitch up the sides of your envelope! A simple whip stitch works well and is easy, even at 4 am.

Go ahead, stuff it full of love – and make someone’s day!
Questions – especially if I typed something here that makes sense only to my sleep-deprived brain – are welcome. I will answer them all after school. 😉
All the pictures are clickable for a larger view.


 Here’s a little heads-up for those who are interested in following the MA tutorial I’ll be offering in two weeks’ time.